🖼️ Media Replacer Overview
Media Replacer is an advanced feature within the Better Find And Replace plugin, purpose-built for efficient, site-wide media management in WordPress. It enables administrators to identify and update images or files wherever they appear—across posts, pages, custom post types, and custom fields—without manual database edits or code changes.
This tool integrates seamlessly with the WordPress Media Library, offering a visual interface for locating and replacing outdated, broken, or inconsistent media assets. Key capabilities include live previews, safe handling of serialized data, and batch operations, ensuring both accuracy and data integrity.
Media Replacer streamlines the process of maintaining up-to-date branding and content, empowering users to manage media assets confidently and professionally.
- Updating old images or logos across your entire WordPress site with just a few clicks
- Replacing broken media links quickly and efficiently
- Swapping out outdated graphics, banners, or product images without editing posts or pages manually
- Ensuring consistent branding by updating media everywhere it appears
- Managing and replacing images in posts, pages, custom post types, and even custom fields (like ACF)
- Previewing changes before applying them, so you always know what’s being replaced
- Keeping your site organized by removing unused or obsolete media files
🧭 Getting Started
Step 1: Access Media Replacer
- Log in to your WordPress Dashboard.
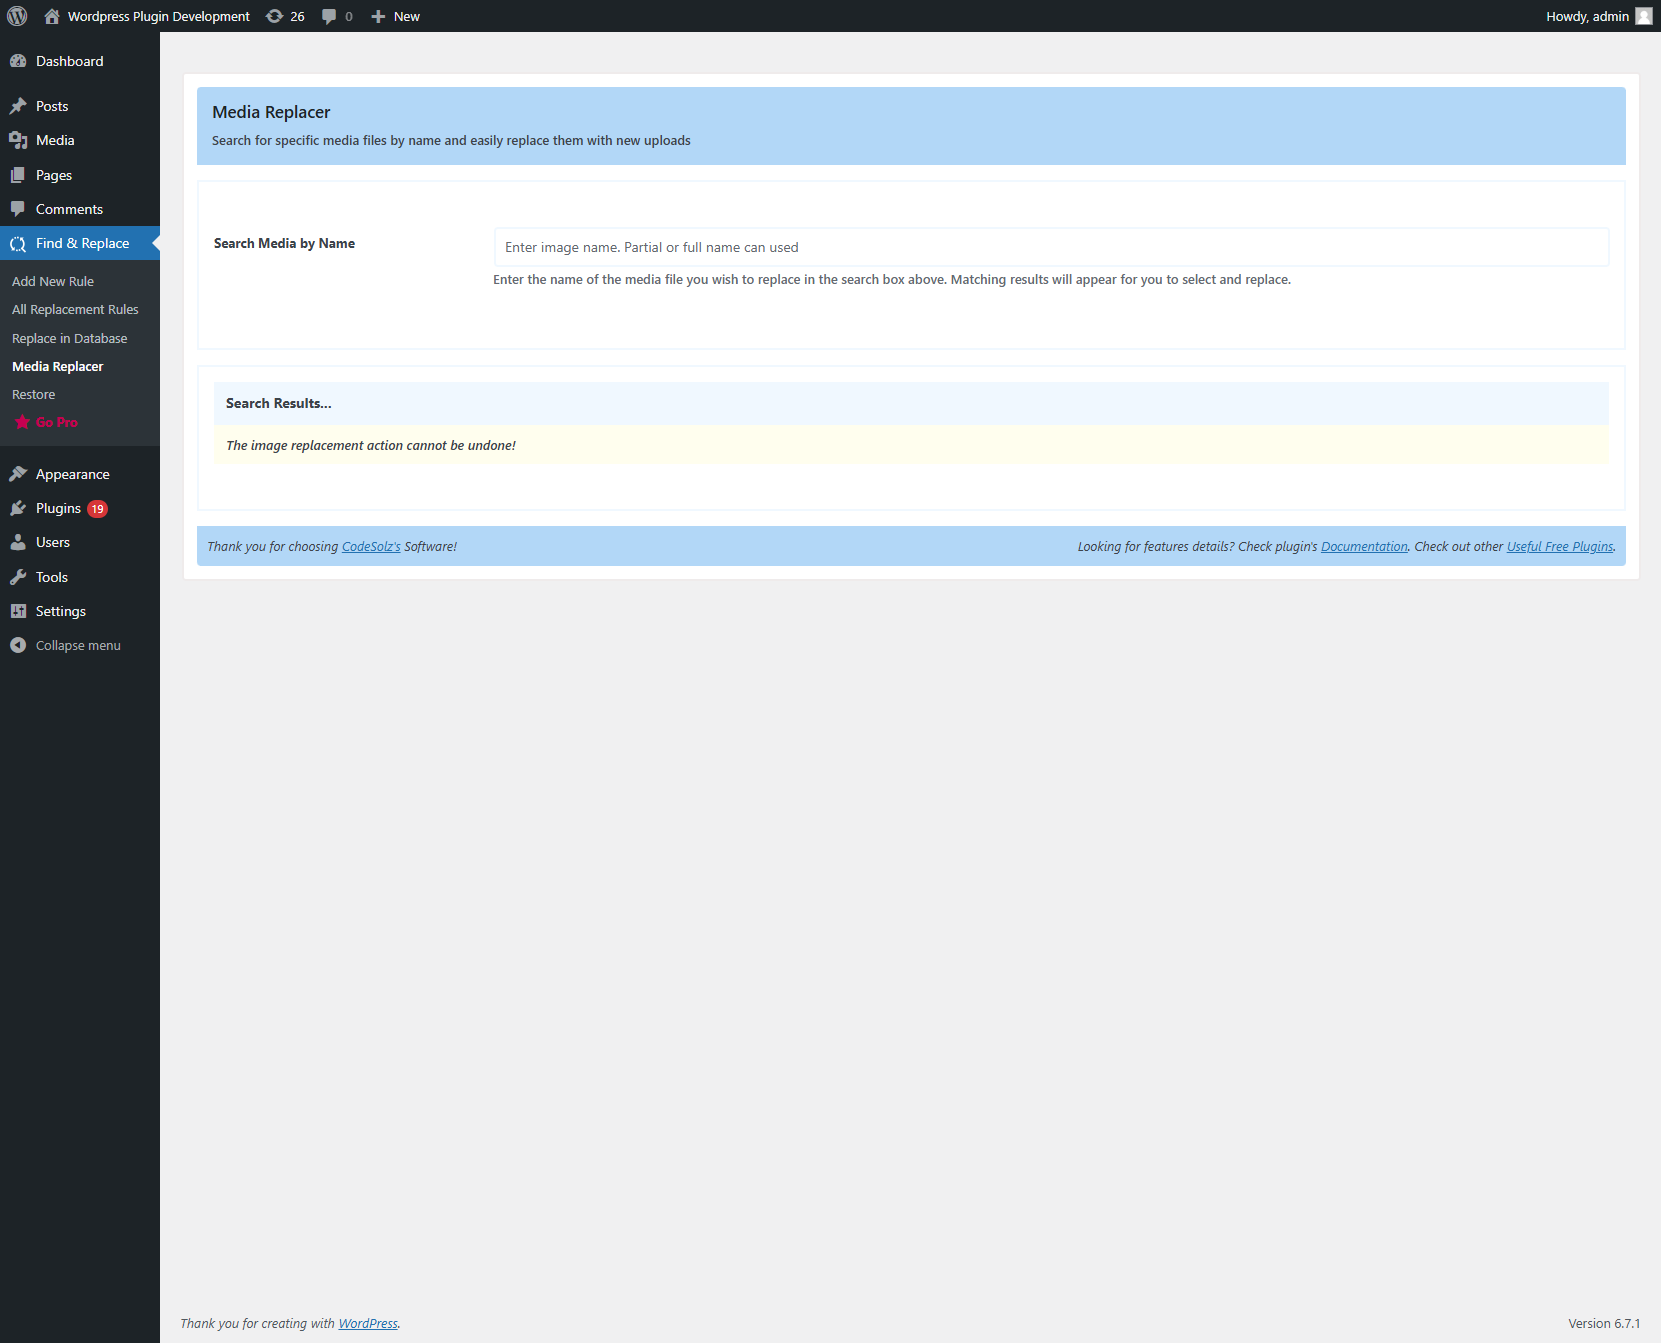
- Navigate to Better Find and Replace and select the Media Replacer tab.

Step 2: Search for Media
- Enter the name or keywords of the media you wish to replace. Start typing at least two characters to filter results.
- The interface will display matching media items, each with a visual preview.

Step 3: Initiate Replacement
- Hover over any image to reveal the Replace button.
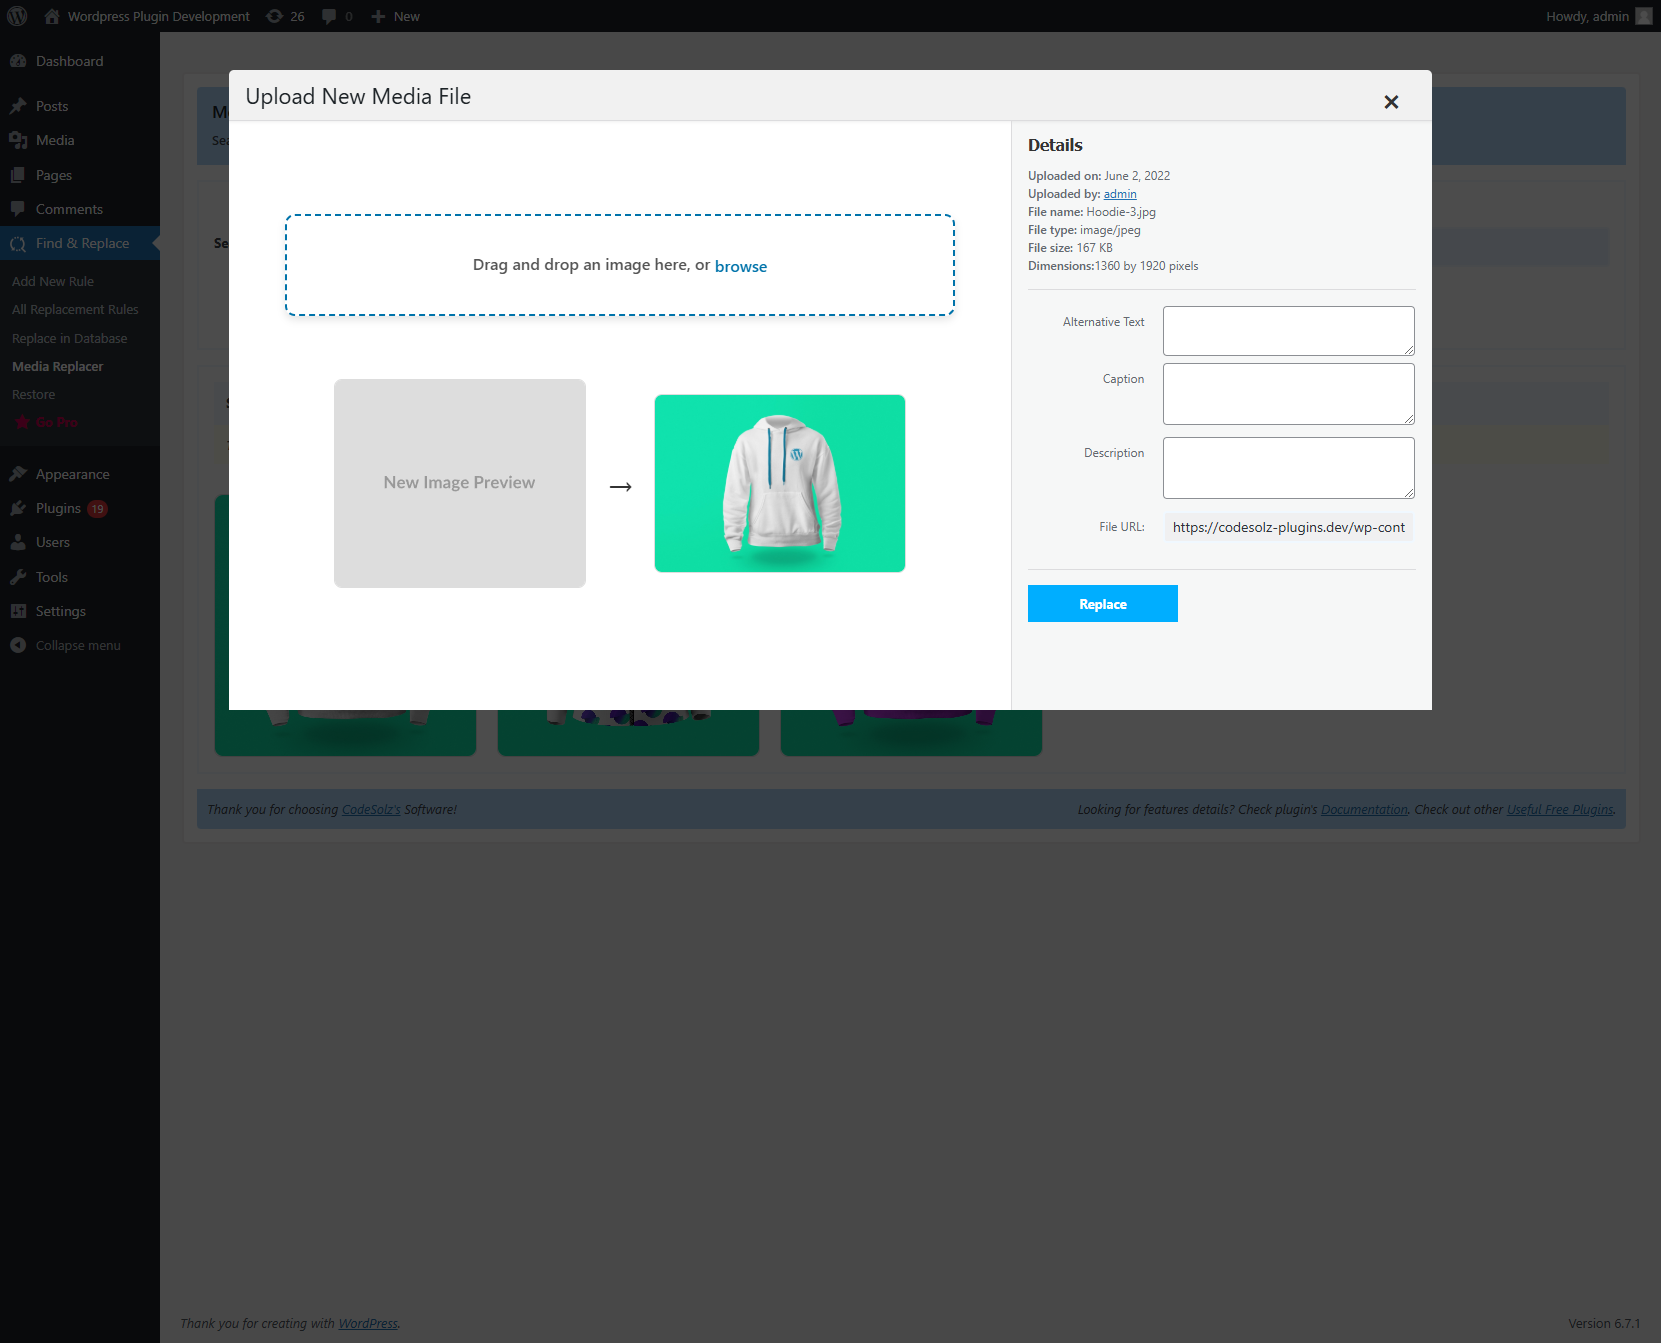
- Click Replace to open a dialog where you can upload a new file or choose one from the Media Library.
- Optionally, update the image’s alt text, title, caption, or description during this step.

Step 4: Review & Confirm
- After selecting a new image, a side-by-side preview will appear for comparison.
- Click Replace again to finalize the update.
✅ The new image will automatically update everywhere the original was used across your site.
💡 Best Practices
- Always backup your media before bulk replacements.
- Use optimized image sizes to improve performance.
- Test on a staging site if you’re replacing many files.
Check the pro version of Better Find And Replace, Pro version will help you to do your job very smoothly.